Model | MH-VSM | MH-VSM2600 |
Max veneer width | <2600mm | <1300mm |
Veneer thickness | 1-4mm | 1-4mm |
Speed | 30-100m/min | 30-100m/min |
Veneer sorting | 3 bin | 2 bin |
Machine size | 8000*2100*3900mm | 6500*2100*3900mm |
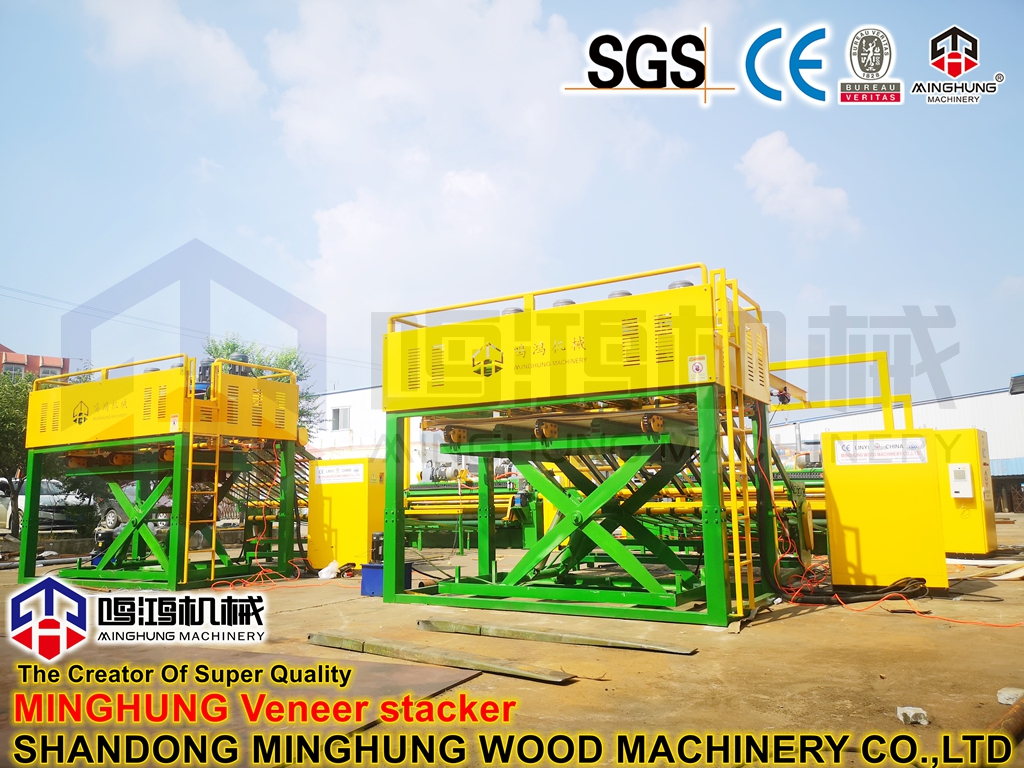
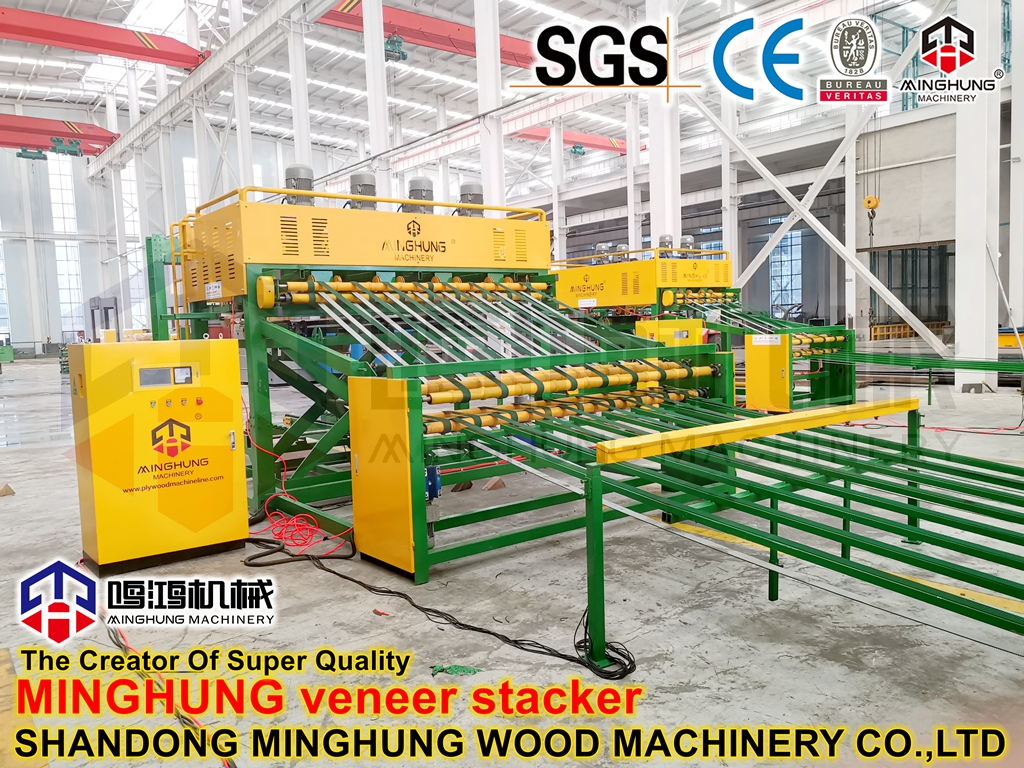
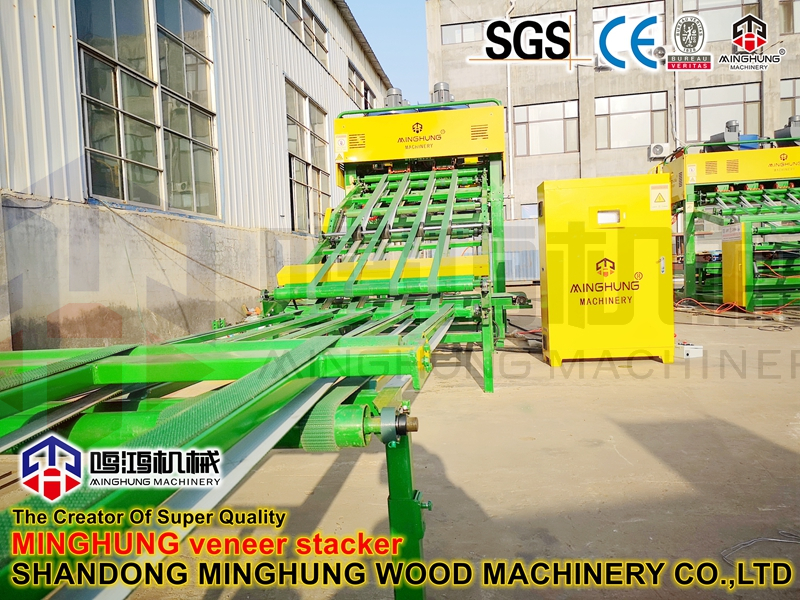
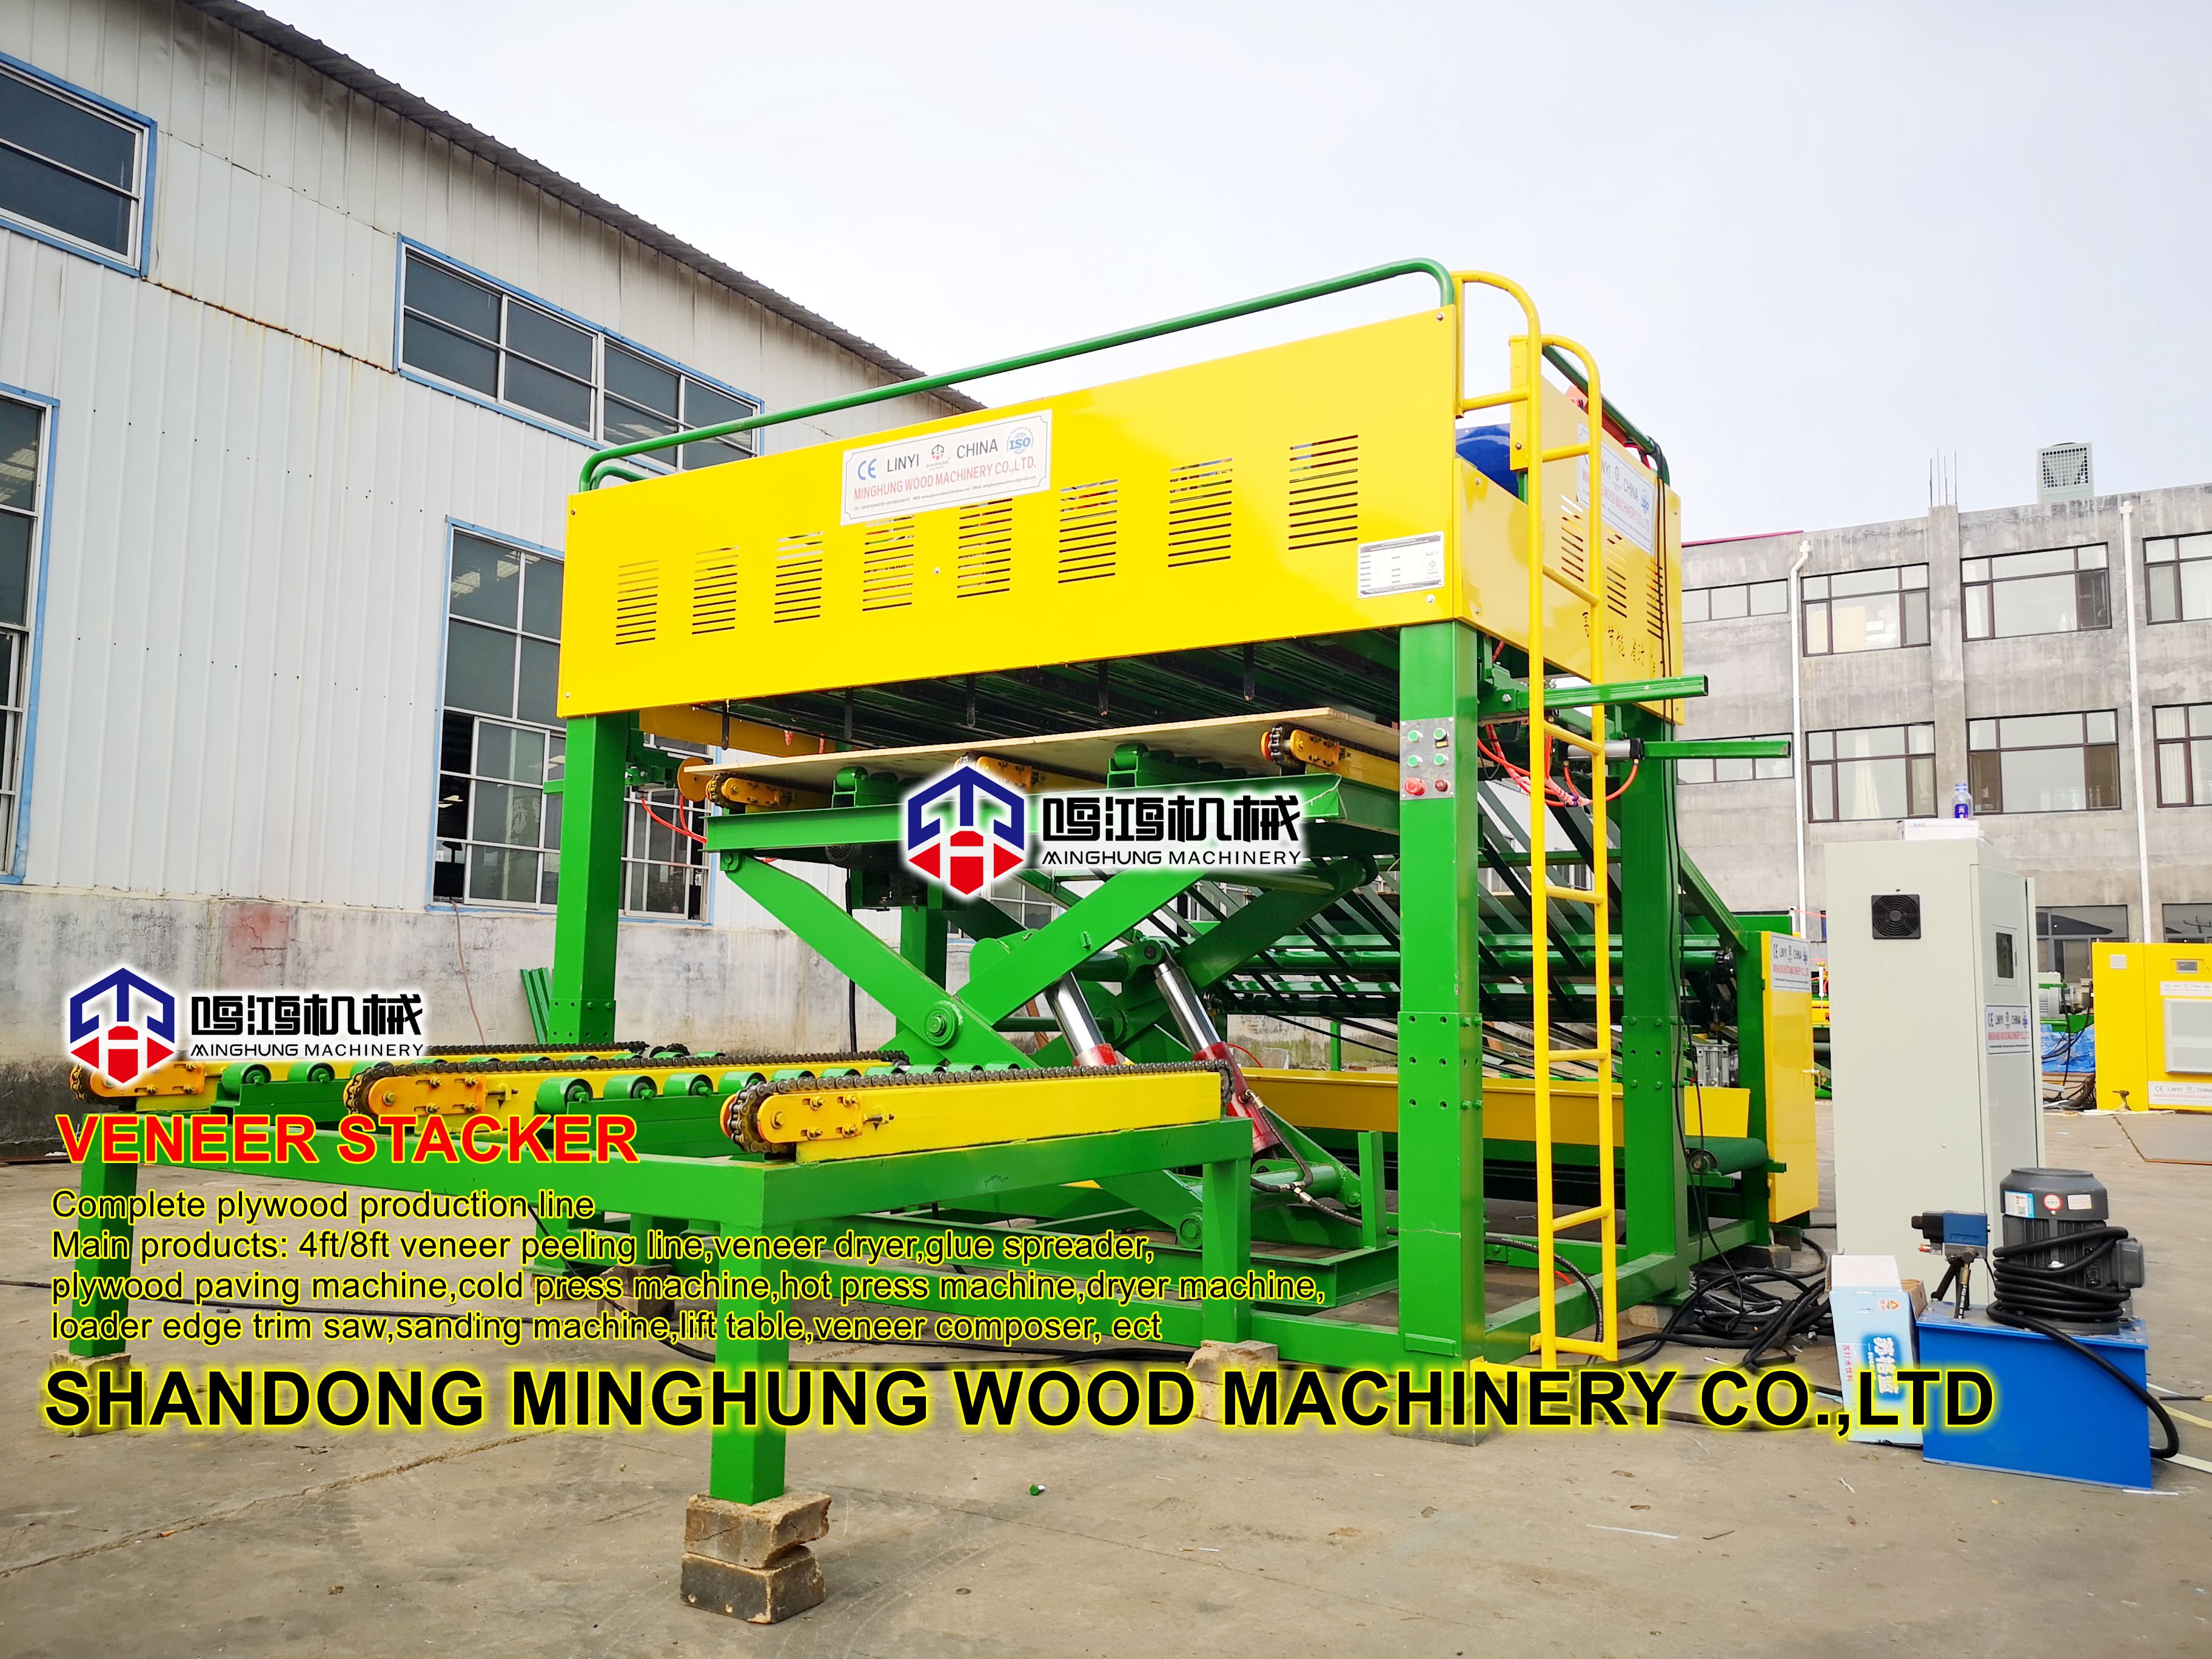
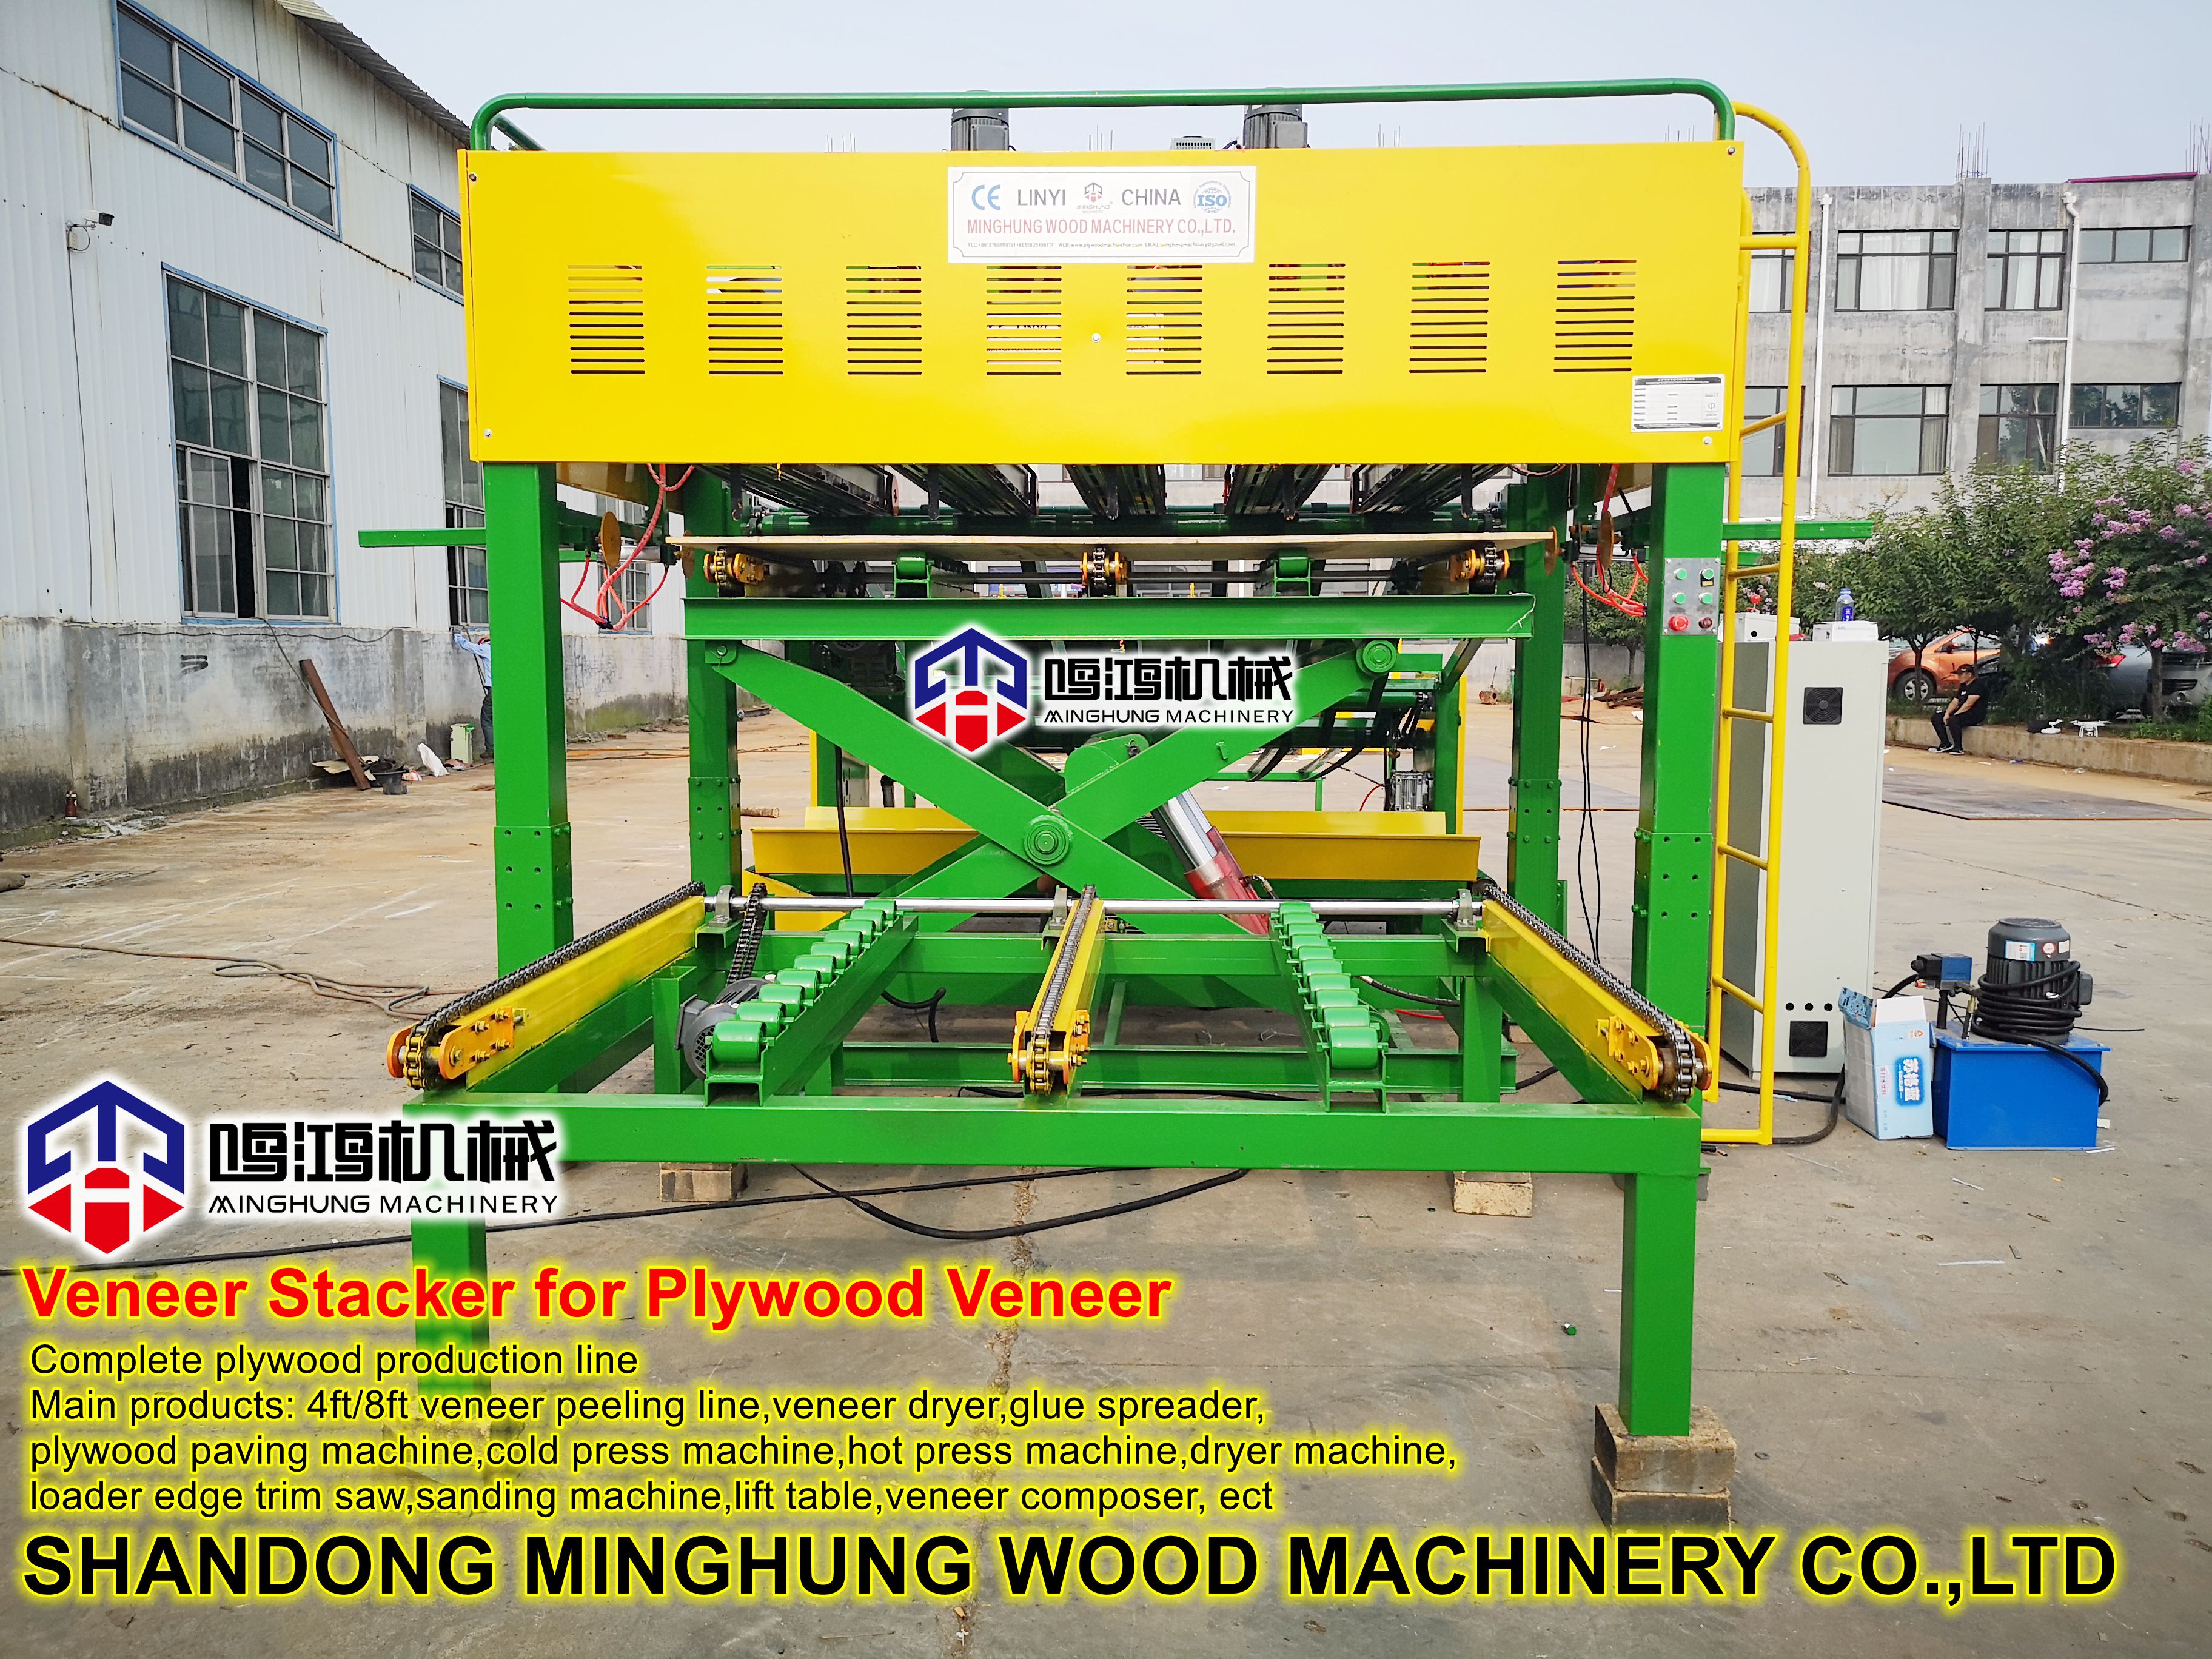
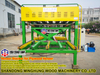
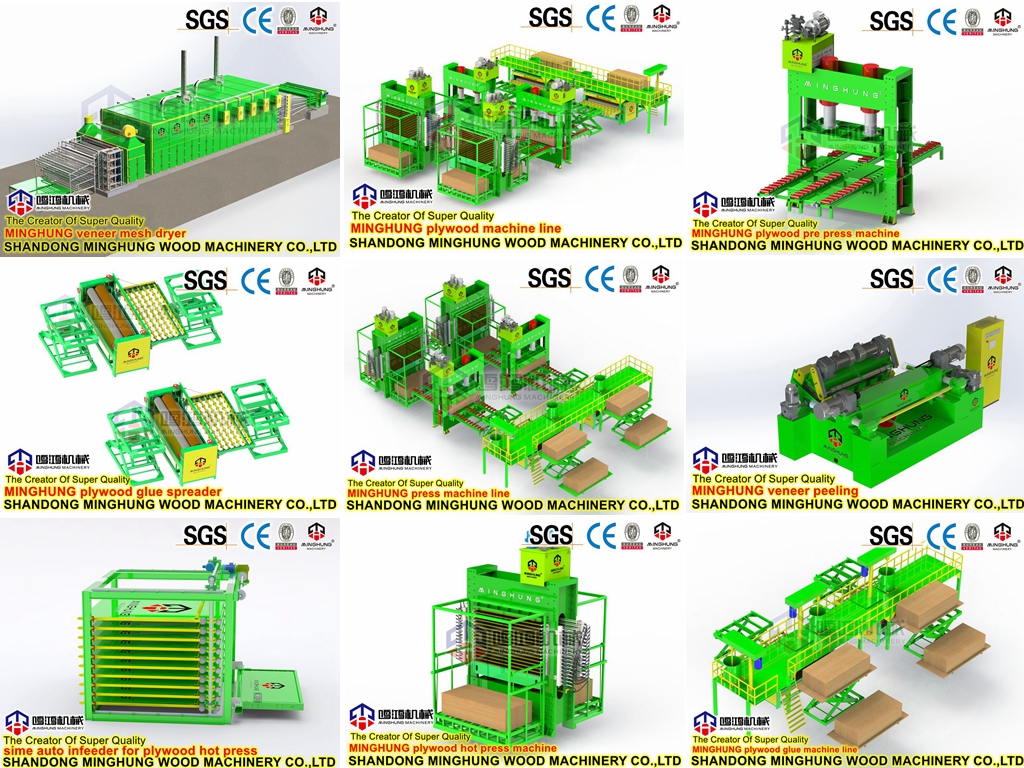
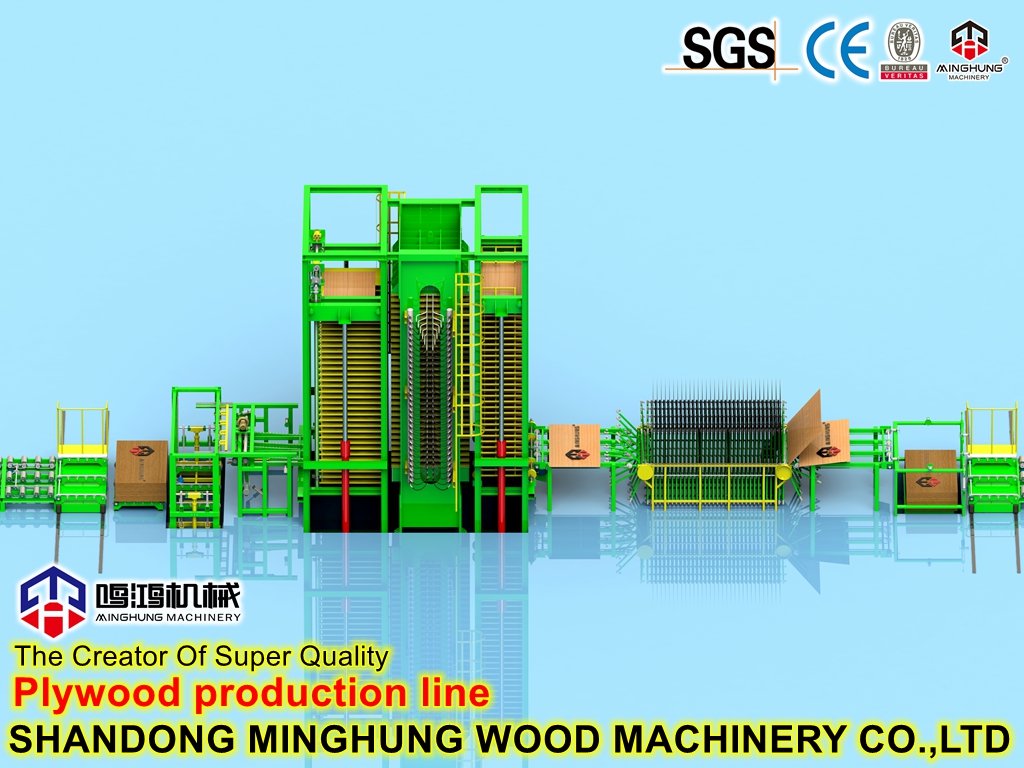
SHANDONG MINGHUNG WOOD MACHINERY CO.,LTD
WEBSITE: www.plywoodmachineline.com
EMAIL: minghungmachinery@gmail.com
WHATSAPP: +8618769900191
+8615589105786
Catalogue
Chapter 1、Mechanical structure...............................................................1-4
Chapter2、Cabin & screen.........................................................................5-16
Chapter3、Installation prepare .................................................................17-22
Chapter4 、Machine run test ....................................................................23-31
Chapter5、Common problems &solutions.................................................32-36
Chapter6、Machine maintenance...............................................................37-40
Chapter7、Circuit diagram..........................................................................41
Chapter 1、Mechanical structure


1-Veneer sorting device 2-1# conveyor 3- 2# conveyor 4-Push cylinder
5-Lifting tale 6- Out conveyor 7 -Hydraulic station 8-Unqualified veneer conveyor

9- 1# Veneer beat motor10- 1#Veneer beat device11- 1# Fan/Motor12- 2# Fan/Motor
13-2#Veneer beat device14- 2#Veneer beat motorA- veneer beat sensor

3-2# conveyor 15-Air Way B-veneer arrive sensor C-Up limit sensor

C-Up limit sensor D-veneer Sorting sensors E-bottom limit sensor
F-Out conveyor sensor G-out limit sensor
Chapter2、Cabin & screen

1-Switching power 2-Main switch 3-Isolated transformer 4-Air switch 5-Contactor 6-Terminal strip 7-PLC
8-Relay 9-Fan inverter 10-Conveyor inverter 11-Servo driver 12-Motor wire joint

1 | Detecting width | Current veneer width from detector | 9 | Manual Switch | Go to Manual operation page |
2 | Veneer width set | The veneer width will be stacked | 10 | Value setting | Go to value setting page |
3 | Veneer defect allow | Defect area/whole piece veneer area | 11 | Speed | 1# conveyor speed from detector |
4 | Sorting cylinder Up | Sorting cylinder closed time after unqualified veneer fall down | 12 | Detecting veneer defect | The current veneer detect rate from detector |
5 | Sorting cylinder down | Sorting cylinder open time | 13 | Veneer stacker amount | All stacked veneer Amount |
6 | Working mode | Working mode display | 14 | Current veneer stack | Qty of current veneer stacker |
7 | Fault reset | Problem solve,machine return to normal | 15 | Alarm Amount | Max stacker qty set |
8 | Sorting sensors | Go to sorting sensors page |
|
|
|

|
1 | Sorting cylinder Up | Sorting cylinder closed time after unqualified veneer fall down | 8 | Grade A veneer width allowance | The width range rate that Grade A |
2 | Sorting cylinder down | Sorting cylinder open time | 9 | Grade A veneer qty per Push | Qty of push cylinder one action |
3 | Max width allowance | Max width allowance of Qualified veneer | 10 | Grade A Push delay | Push cylinder open time after veneer fall down |
4 | Mini width allowance | Max width allowance of Qualified veneer | 11 | Push keep | Push cylinder keep time |
5 | Veneer width set | The veneer width will be stacked | 12 | Fan power Adjust | Go to fan power page |
6 | Veneer defect allow | Defect area/whole piece veneer area | 13 | Detecting width revise | Go to width revise page |
7 | Grade A Veneer defect allow | Defect area of Grad A veneer Allowed | 14 | Factory parameters | Parameters before machine leave |


Sorting sensors Open/close
① sorting sensors fault:Change the sorting sensors use from “ON” to “ NO”,it wont influence machine work . after change to new sensors .change “ NO” to “ ON ”

②Veneer width large change :Eg from 1300mm change to 970mm,or from2600 change to 2000mm ,Close the 1#,2# ,13# ,14# sensors use .

Operation area

Chapter 3,Installation prepare

Machine Assemble
1.For easy transfer ,machine is broken into 6 parts

2.Assemble Steps


3Connect the lifting table & hydraulic station
4Put the out conveyor on right position


After motor wire connect,Open screen , Go to Manual operation page,Click the Manual operation area ,check the motor run in right direction ,if wrong ,Exchange the 2 wire.


2.Input right veneer width in the screen
Please note : the “veneer width set”should be same as the veneer peeling machine

3.Detect width revise
①Get a veneer and remember its width B=? ②Put it on the conveyor before sensors
③open Emergency button ,veneer go though sensors ④ Click “Detect width revise ”
O

4.Veneer beat sensor (proximity switch)
①Adjust the distance of veneer beat sensor and veneer beat device,0.5cm, the sensor light just bright!
②The sensor‘s insulating spacer just touch the bearing house

5.Adjust veneer arrive Sensor’s effective range
① Put a veneer 5-6cm from the above sensor ,check its light bright or not
② If sensor light not bright , adjust the sensor’s reach range as following .

6. Veneer Arrive sensor adjust
①Power on ,put a veneer on front of 1# conveyor ,check the time difference between veneer pass the Air way and the veneer beating strip push .②if the veneer beating strip push after whole veneer enter air way ,its okay. if not enter completely but push out ,please adjust “Grade A stack delayed"

7.Adjust Fan power
①Fan power need be adjust according veneer thickness and moisture.
②If veneer cant be absorbed on the Air way , Increase Fan power
③If veneer is stopped forward ,reduce Fan power

Chapter 5、Common problems &solutions
Problem 1:Lifting table failure
①Power on or cut ② Check sensors
③ line worn 4Wire joint break
Problem 2 : Conveyor failure
①Power on or cut ②Wire joint break
③Inverter :Number means normal 4Mess code means problem
Problem 3:Fan failure
①Power on or cut ② Check motor condition
③Inverter :Number means normal 4Mess code means problem
Problem 4:Sorting cylinder failure
①Work mode is “Unqualified veneer” ②Air pipe joint
③Air pipe pressure 3-5PMa 4Solenoid valve
Problem 5 : Machine Auto Stop
① Power on or cut ② Inverter :Number or Mesh code
③ Check Up limit sensors C & bottom limit sensors E bright same time ?


1.Check all screw are tighten .new machine need check all screw 3~5days
3-5 days
2.Chain 、Gear need be lubricated 2-3 times per shift
2-3 times /shift3.keep Fan clean.
4.Check all sensors regularly
5.Check all belt condition and working condition
6.Check hydraulic station Oil gauge regularly
7.Bearing & sliding parts should be lubricated regularly.
①Veneer beat device lubricated 2 times/day ② Oil-water separator
③ Sliding bars 2-3times per shift ④Bearing should be lubricated timely